I don’t need to tell you yet again, but fall is my FAVE season. The cozies, the baking, the pumpkin everything… I’m all about it. I love love love to bake, and you may know after watching my Insta stories, I’m trying to cut back on animal products, dairy being the absolute TOUGHEST for me! When E.D.Smith reached out to work with me on creating a fall recipe, I knew it had to be something vegan, and obviously pumpkin, so here we are with this vegan pumpkin cheesecake!
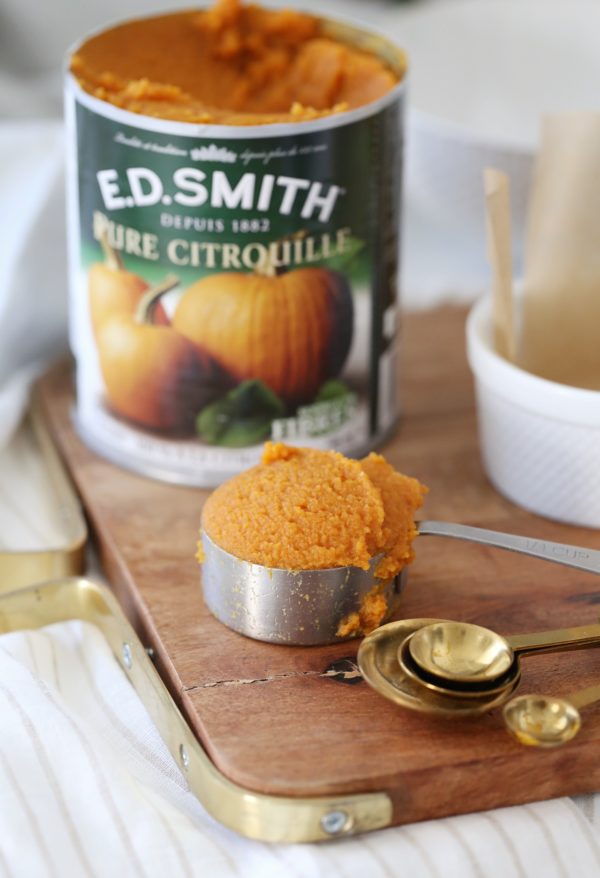
E.D.SMITH and I go wayyyy back. The brand holds some pretty sentimental memories for me – my grandma always used their pumpkin for her pumpkin pies, as did my mom. Growing up, their cherry filling was always “the best and the only one to use” according to my mom when we would make her no-bake cherry cheesecake. I had no idea that this Canadian brand was actually celebrating its 135th year as the #1 pie filling brand on the Canadian market. I’m so excited to take my nostalgia to the next level, and to combine cheesecake and pumpkin, with this vegan pumpkin cheesecake.
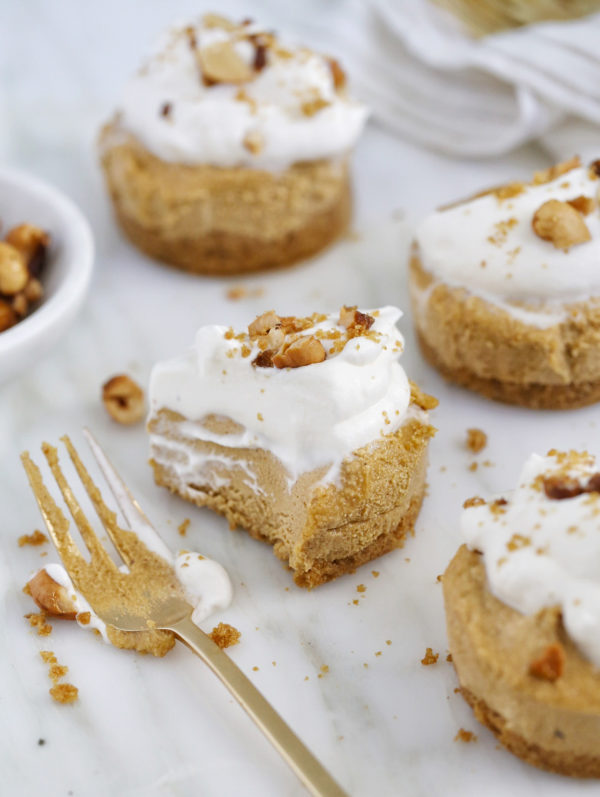
I loved this one because it’s no bake, and has a list of very simple ingredients, and obviously, huge points for it being vegan and super yummy. I used Minimalist Baker’s recipe, with a few tweaks of my own and it was foolproof, even though it was my first time making a vegan cheesecake.
VEGAN PUMPKIN CHEESECAKE
Serves 6
- 2 cups graham cracker crumbs
- 1/3 cups vegan butter or margarine
- 2 tbs maple syrup
- Pinch sea salt
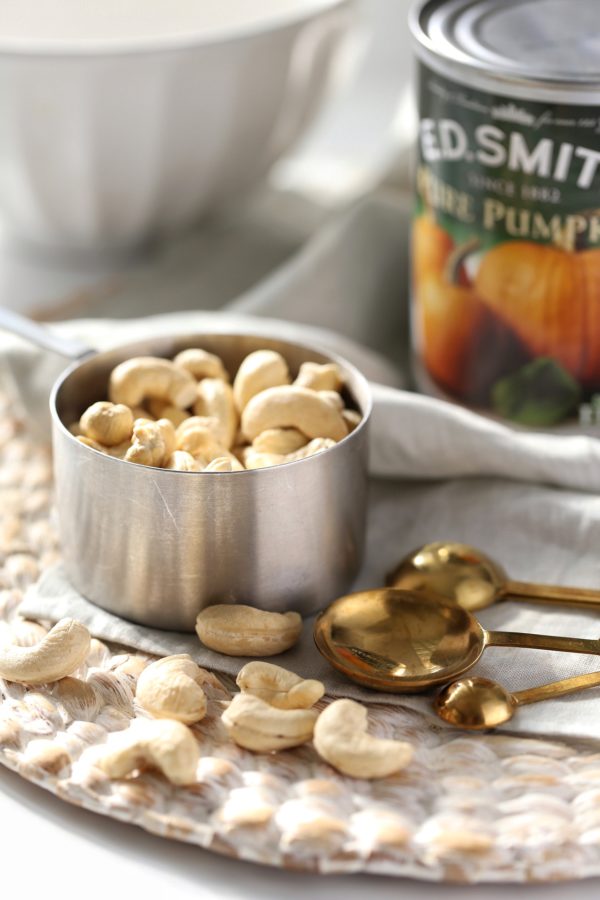
- 1 1/2 cups (180 g) raw cashews (soaked in boiling hot water for 1 hour)
- 1 Tbsp fresh lemon juice
- 1/4 cup + 1 Tbsp (73 ml) coconut milk
- 3 Tbsp (45 ml) avocado oil (or sub melted coconut oil, though it will add coconut flavour)
- 1/2 cup (120 ml) grade A maple syrup (grade A important for the right flavour)
- 1/4 cup + 1 Tbsp (63 g) E.D.Smith pure pumpkin puree
- Pinch sea salt
- 1 tsp vanilla
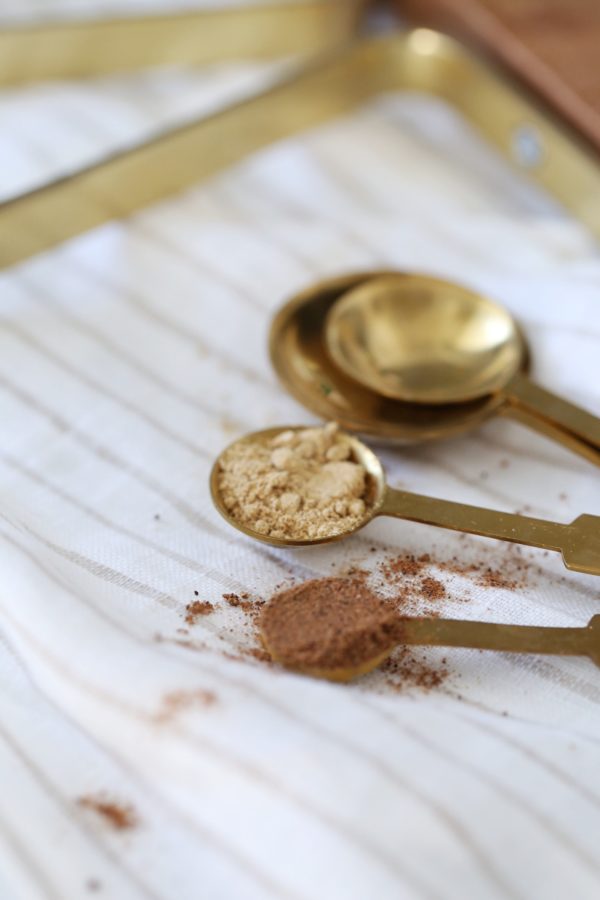
- 1/2 teaspoon each cinnamon, nutmeg, ginger OR 1 tbsp pumpkin pie spice
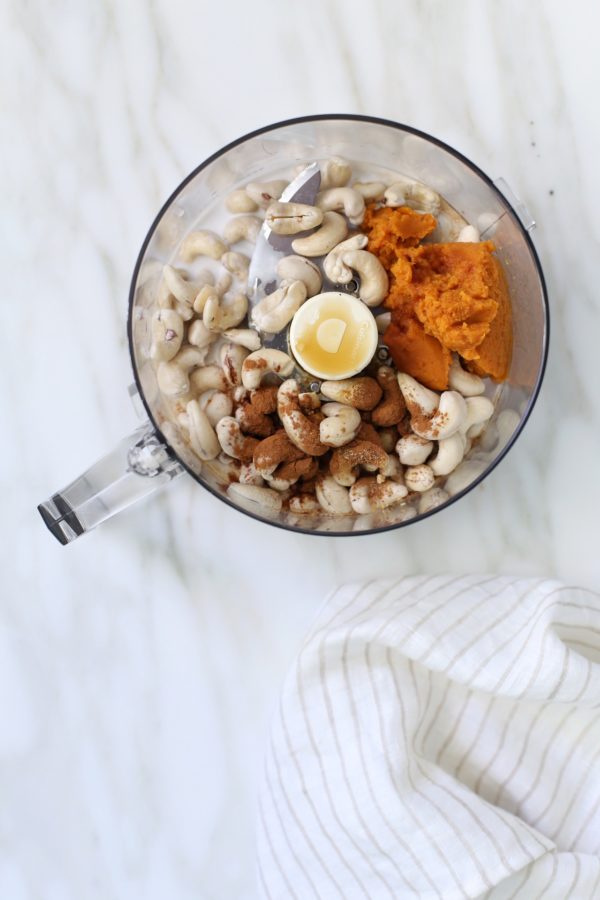
- Cover cashews with boiling-hot water. Let rest, uncovered, at room temperature for 1 hour. Then drain thoroughly and set aside.
- Mix up the crust ingredients and set aside.
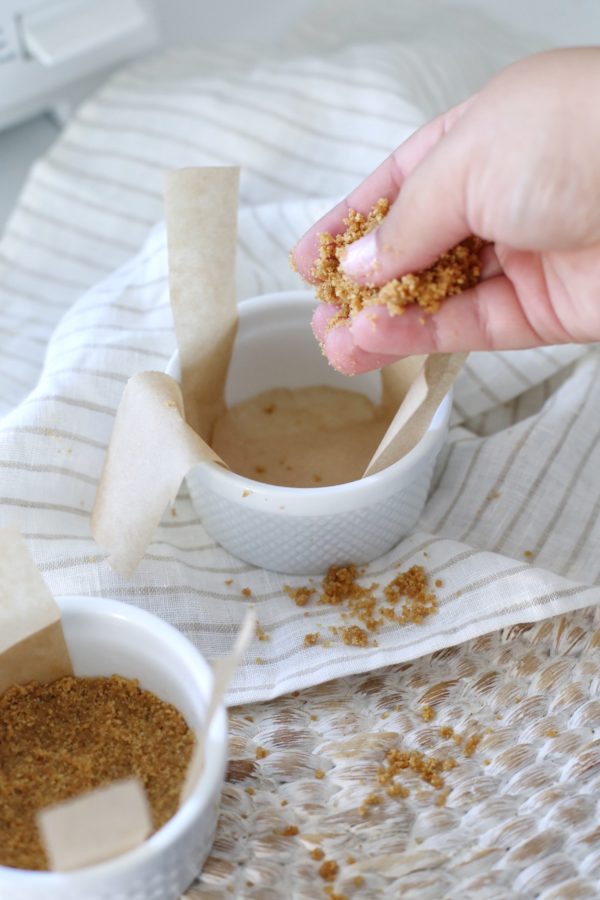
- If using a springform pan, line with parchment paper. If using ramekins or muffin tins, cut parchment paper into circles the size of the base of your ramekins or muffin tins. Also, cut out two long strips of parchment paper per ramekin and lay them in an “X” shape at the base. Top with circle shape. This creates little tabs that make removing the cheesecakes easier to pop out once set. (For muffin tins, you can also just use cupcake liners.)
- Divide crust evenly among ramekins or tins (or springform pan), and press down with fingers to evenly distribute. Use a small glass wrapped in parchment paper, or the back of a spoon, to press down firmly, allowing some crust to come up the sides. Set in freezer.
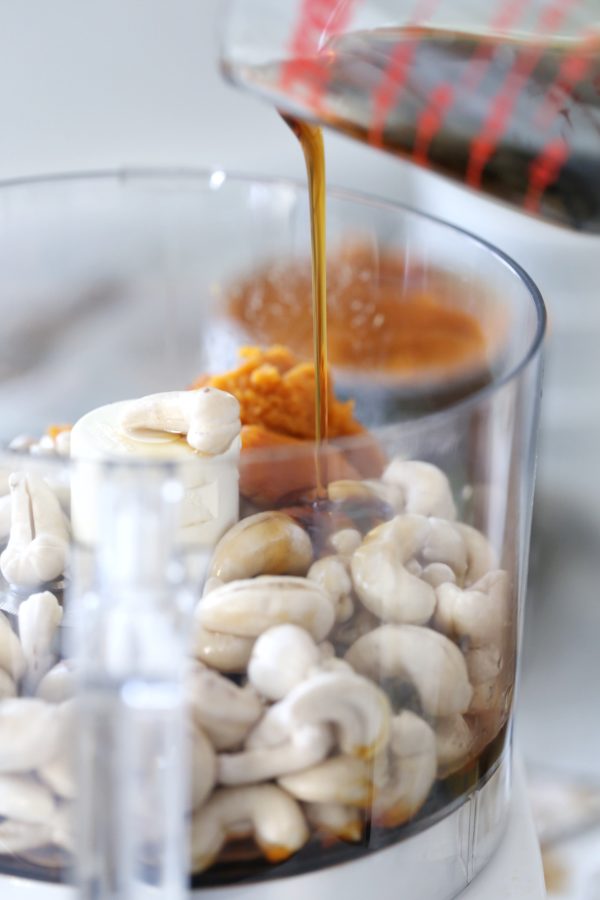
- Once cashews are soaked and drained, add to blender with remaining filling ingredients and puree until very smooth – 2-3 minutes. If it has trouble blending add a touch more coconut milk (or almond milk). Taste and adjust flavor/sweetness as needed.
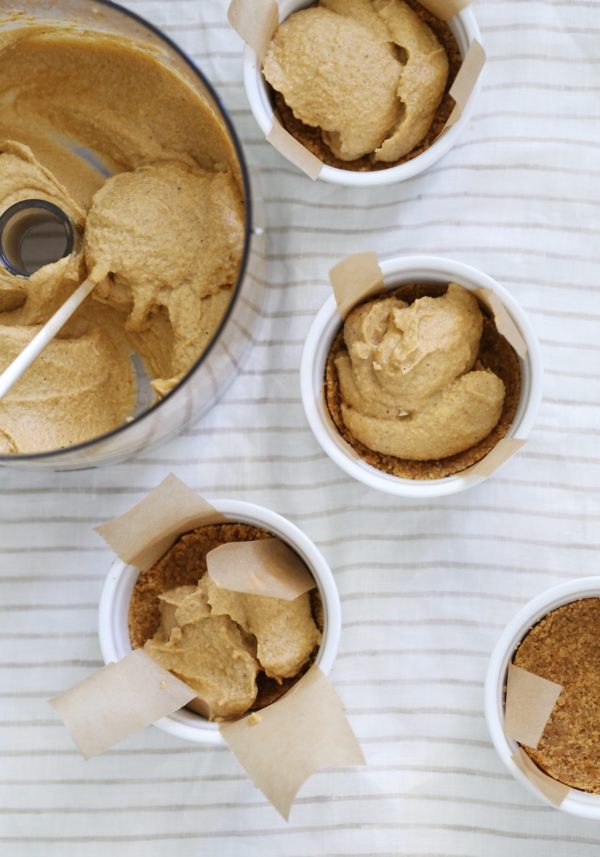
- Divide filling evenly among the ramekins or tins (or pour into a parchment-lined springform pan). Tap a few times to release any air bubbles, then cover loosely with plastic wrap and freeze until firm – about 4-6 hours, depending on size of dish.
- Once set, run a butter knife along the edge and gently remove by tugging on the tabs in an upward motion. They should pop right out. If they aren’t quite set, pop them back in the freezer until firm. If using a springform pan, simply pop open and remove cheesecake.
- Store leftovers in the freezer for 7-10 days, though best when enjoyed within the first 3-4 days. Let thaw at room temperature 15-20 minutes before serving for best texture.
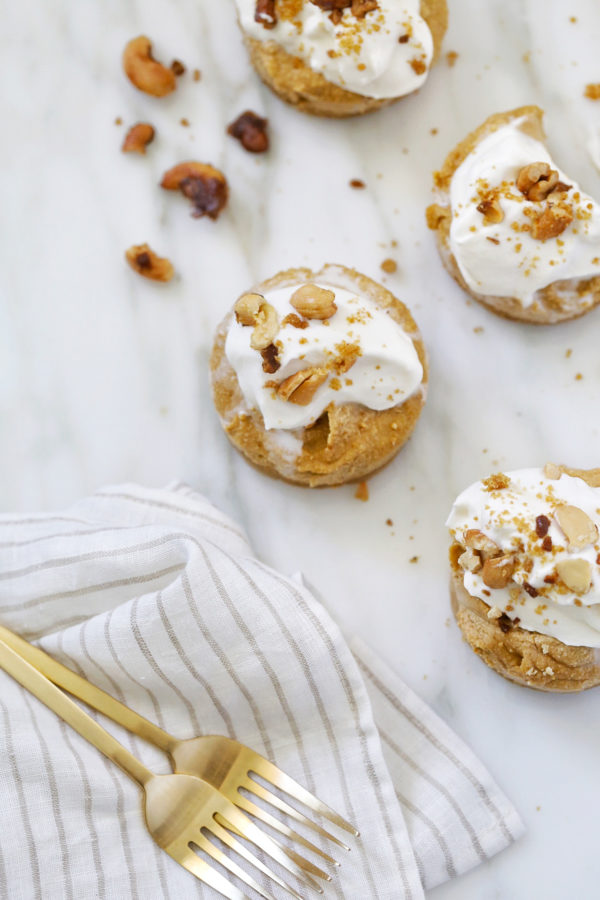
- Serve with coconut whipped cream and brown sugar nuts, if you like!
This post is brought to you by E.D Smith. Thank you for supporting the brands that help make my blog possible!

comments