

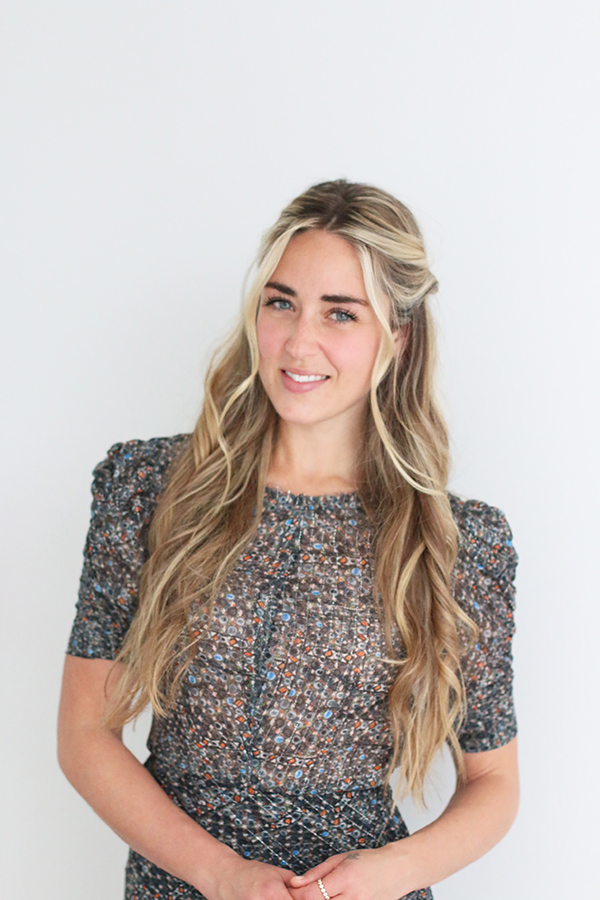
it’s so much fun to partner with friends to create content! cara mcclay is well known for both her fashion blog ‘a fashion love affair‘, and the best hair around! this girl’s mane has no supplementation, in other words, no extensions at all! isn’t that a gorge main? over on instagram, you’ll catch her braided styles a plenty, so i just had to get the intel on her twisted braid tutorial. i recently shared this how-to with glitter guide – it’s easier than it looks!
WHAT YOU’LL NEED
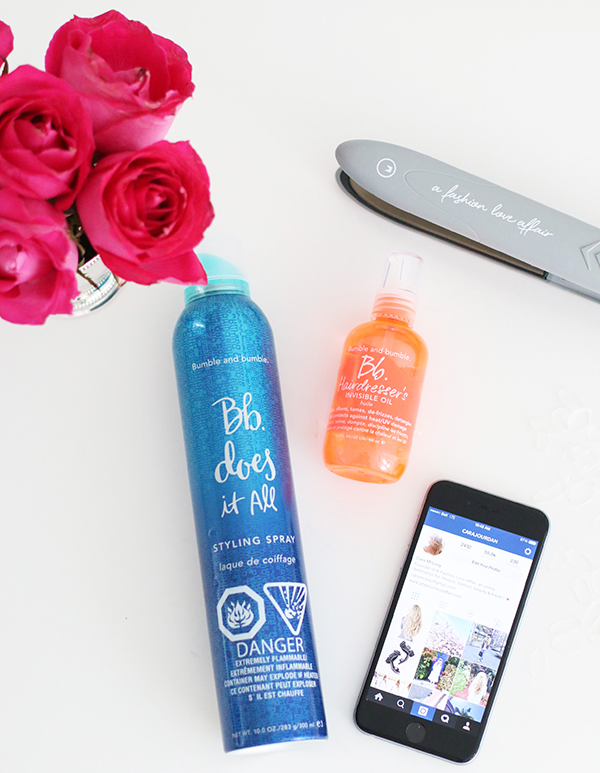
- XO Styling Iron (or heated styling tool of your choice)
- Mini clear elastics
- Bumble and bumble Does It All Styling Spray
- Bumble and bumble Hairdresser’s Invisible Oil
HOW TO:
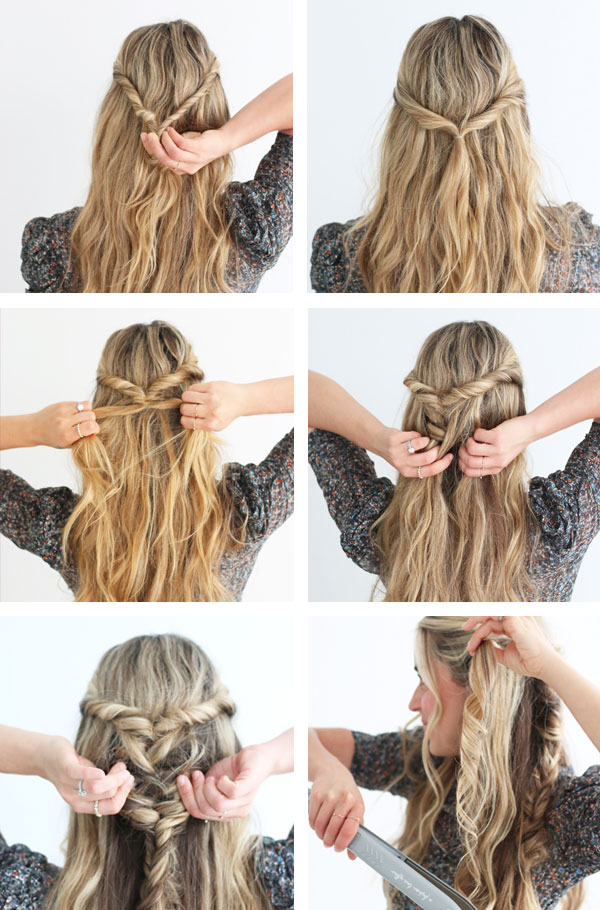
1. On one side of your head, twist a small portion of your hair from the front to the back, leaving a few pieces out around your face. Repeat on the other side, and then secure both twisted pieces behind your head with a clear elastic.
2. Grab the ponytail you created with the elastic. Flip it toward your head, looping it behind the elastic and pulling it downward.
3. Gather the hair in the ponytail and separate it into two portions. Take hair from underneath on the left side and pull it to the front. Repeat on the right side, alternating both steps all the way down the ponytail. Secure with an elastic.
4. Slightly pull the braid apart to achieve an undone look.
5. Use the XO Styling Iron (or heated styling tool of your choice) to create soft waves throughout the rest of your hair. If you’re using the XO Styling Iron, place it at a 45-degree angle, close the plates over a section of hair and glide the iron down the length of your hair, spinning it toward you as you move down. You can also use the iron to wave the pieces of hair you left out around the front of your face.
6. To finish the look, lightly spray your curls from underneath with hairspray. Run a small amount of hair oil through waves to separate curls and create shine.
comments